Quick Start Guide
Get Agentic Foley working in your UE5 project in 5 minutes
Agentic Foley — Quick Start Guide
A step-by-step guide to getting surface-aware footsteps in your Unreal Engine 5.7 project.
Requirements: Unreal Engine 5.7+, GameplayAbilities plugin enabled, MetaSound and Niagara (default-on).
Step 1: Install the Plugin
Want to try it without touching your project? Download the free sample project — it's pre-wired with a 13-surface test grid and the default DA_FoleyConfig_Simple. Install the plugin from Fab, open the sample, hit PIE. Full surface-aware footsteps out of the box.
From Fab: Install Agentic Foley through the Fab launcher. It lands under Engine/Plugins/Marketplace/AgenticGASP/ for engine-wide use, or drop it into YourProject/Plugins/AgenticGASP/ for project-local use.
Pick your path:
Blueprint-only project
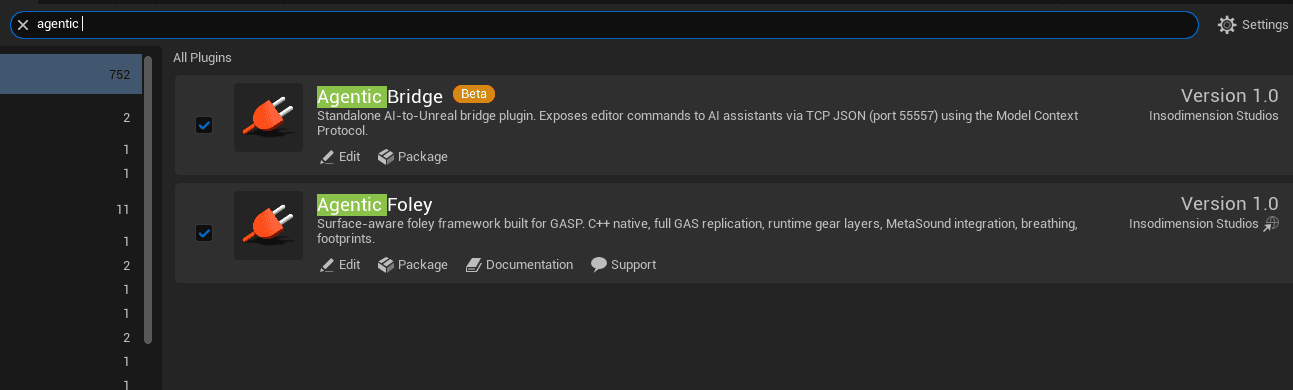
No build needed. Open the editor → Edit → Plugins → search Agentic Foley → tick Enabled → restart the editor when prompted. The plugin is Runtime + EditorOnly modules only, no C++ integration required — skip straight to Step 2.
C++ project
Copy Plugins/AgenticGASP/ into YourProject/Plugins/. The plugin folder contains:
Plugins/AgenticGASP/
├── Source/
│   ├── AgenticFoley/         ← runtime module
│   └── AgenticFoleyEditor/   ← editor-only module
├── Content/                   ← MetaSound presets, data assets, physical materials
├── Config/
│   └── DefaultGameplayTags.ini
├── Resources/Icons/
└── AgenticGASP.uplugin
Right-click YourProject.uproject → Generate Visual Studio project files → build the editor target in your IDE. First build is ~30 seconds.
Step 2: Enable GameplayAbilities
Add to the Plugins array in your .uproject:
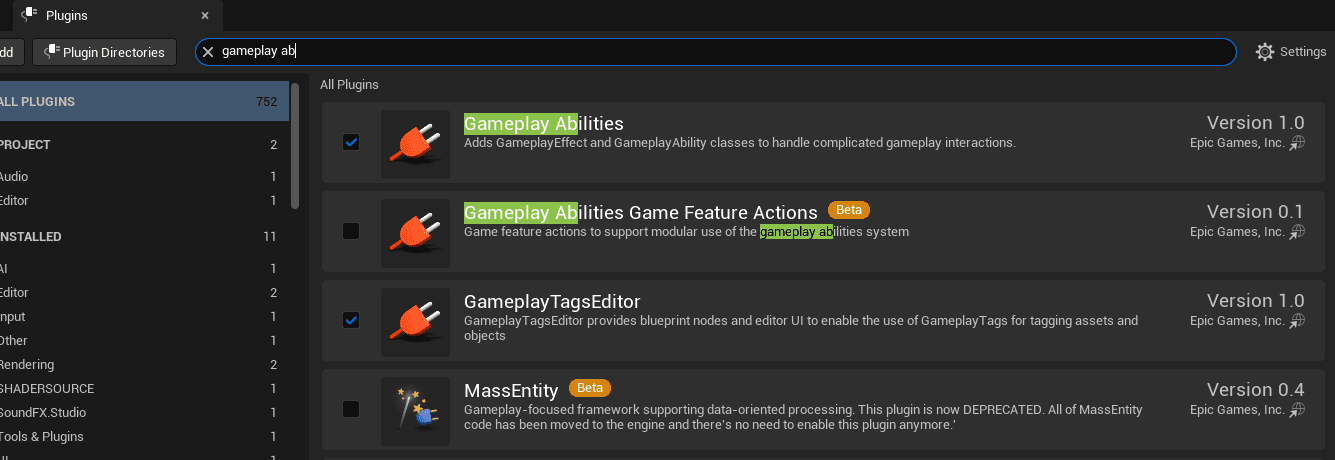
{ "Name": "GameplayAbilities", "Enabled": true }AgenticGASP is auto-discovered once it's on disk. Verify both plugins show as enabled in Edit > Plugins:
Step 2b: Register GameplayCue Scan Path (Multiplayer Only)
Required for multiplayer. Skip for single-player. Without this step, 2+ player multiplayer silently drops every replicated foley event (jump / land / slide / impact) on remote clients. Standalone and 1P PIE hide the bug because they don't exercise the replication fan-out.
Foley replicates audio events via GAS GameplayCues. The cue handler (GCN_AgenticFoley, tag GameplayCue.Agentic.Foley) lives inside the plugin at /AgenticGASP/Audio/Foley/, and the GameplayCueManager only scans paths listed in the project's DefaultGame.ini (plugin-side config is missed because UAbilitySystemGlobals::InitGlobalData() runs before plugin configs merge).
Option A — Project Settings UI:
- Open Project Settings and search
gameplaycue - Under Game > Gameplay Abilities Settings > Gameplay Cue, find Gameplay Cue Notify Paths
- Click +, set Index [0] to
/AgenticGASP/Audio/Foley - Save and fully restart the editor (the manager only scans paths at startup)
Option B — Config/DefaultGame.ini:
[/Script/GameplayAbilities.AbilitySystemGlobals]
+GameplayCueNotifyPaths=/AgenticGASP/Audio/Foley
Verify: Output Log filtered by LogGameplayCueNotify should show Added path /AgenticGASP/Audio/Foley at startup.
Full details and verification recipe in the Multiplayer guide.
Step 3: Register Physical Surface Types
Add to Config/DefaultEngine.ini under [/Script/Engine.PhysicsSettings]:
[/Script/Engine.PhysicsSettings]
+PhysicalSurfaces=(Type=1,Name="Concrete")
+PhysicalSurfaces=(Type=2,Name="Dirt")
+PhysicalSurfaces=(Type=3,Name="Grass")
+PhysicalSurfaces=(Type=4,Name="Metal")
+PhysicalSurfaces=(Type=5,Name="Wood")
+PhysicalSurfaces=(Type=6,Name="Water")
+PhysicalSurfaces=(Type=7,Name="Soil")
+PhysicalSurfaces=(Type=8,Name="Stone")
+PhysicalSurfaces=(Type=9,Name="Sand")
+PhysicalSurfaces=(Type=10,Name="Snow")
+PhysicalSurfaces=(Type=11,Name="Mud")
+PhysicalSurfaces=(Type=12,Name="Forest")
+PhysicalSurfaces=(Type=13,Name="Flesh")
Or set them in Project Settings > Physics > Physical Surface. Once registered, the surface table looks like this:
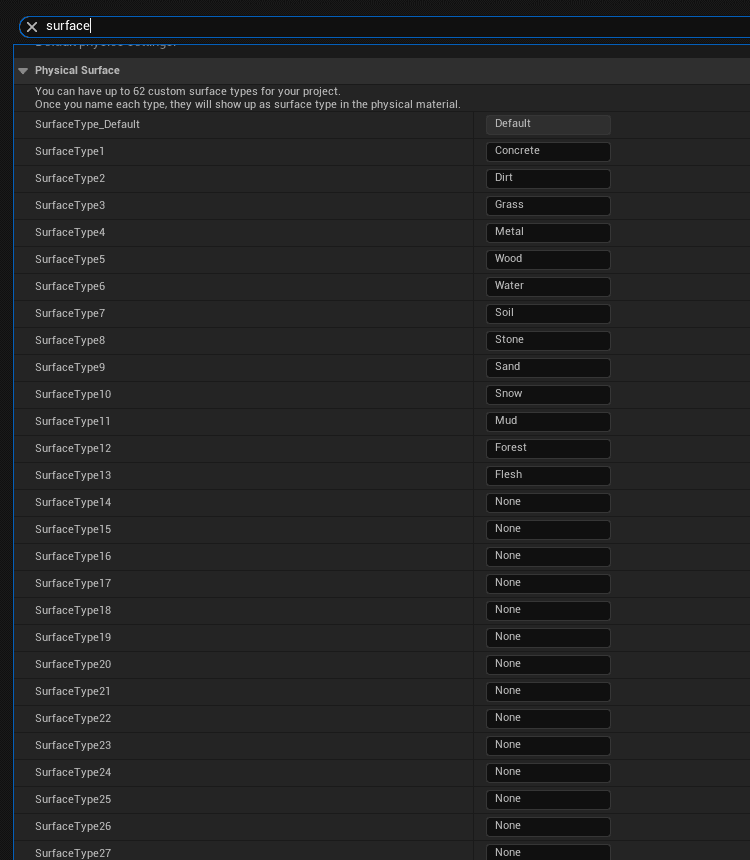
The plugin ships 13 pre-made PM_* physical materials that match this table. Drop them on your level meshes.
Step 4: Register Foley GameplayTags
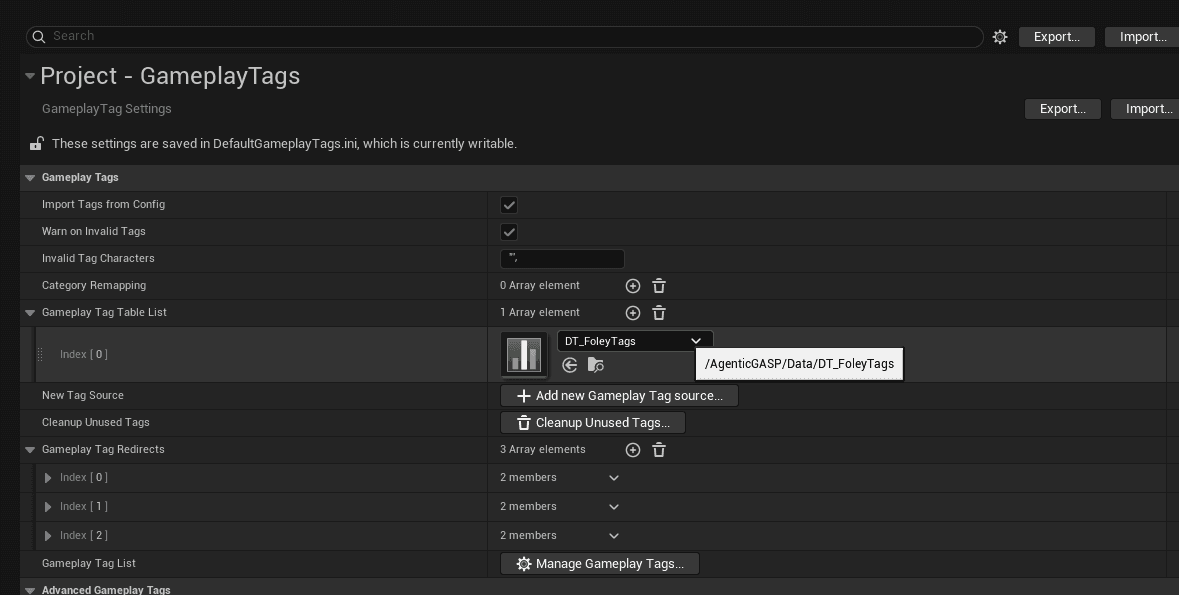
Verify in Project Settings > GameplayTags > Gameplay Tag Table List:
/AgenticGASP/Data/DT_FoleyTags.DT_FoleyTagsThe plugin adds this automatically via Config/DefaultGameplayTags.ini. If tags don't appear in dropdowns, add the row manually and restart.
Step 5: Add the Foley Component
There are two integration paths:
| Path | When | What to do |
|---|---|---|
| A — Add component | Fresh project or third-person template | Class Defaults > Add Component > Agentic Foley Component |
| B — Reparent | GASP project with existing AC_FoleyEvents | Open AC_FoleyEvents > Class Settings > Parent Class > AgenticFoleyComponent |
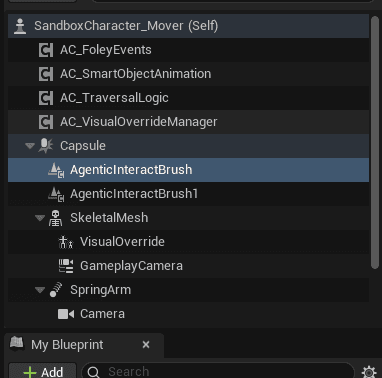
Path A — Add Component
Open your character BP. In the Components panel, click + Add and pick Agentic Foley Component:
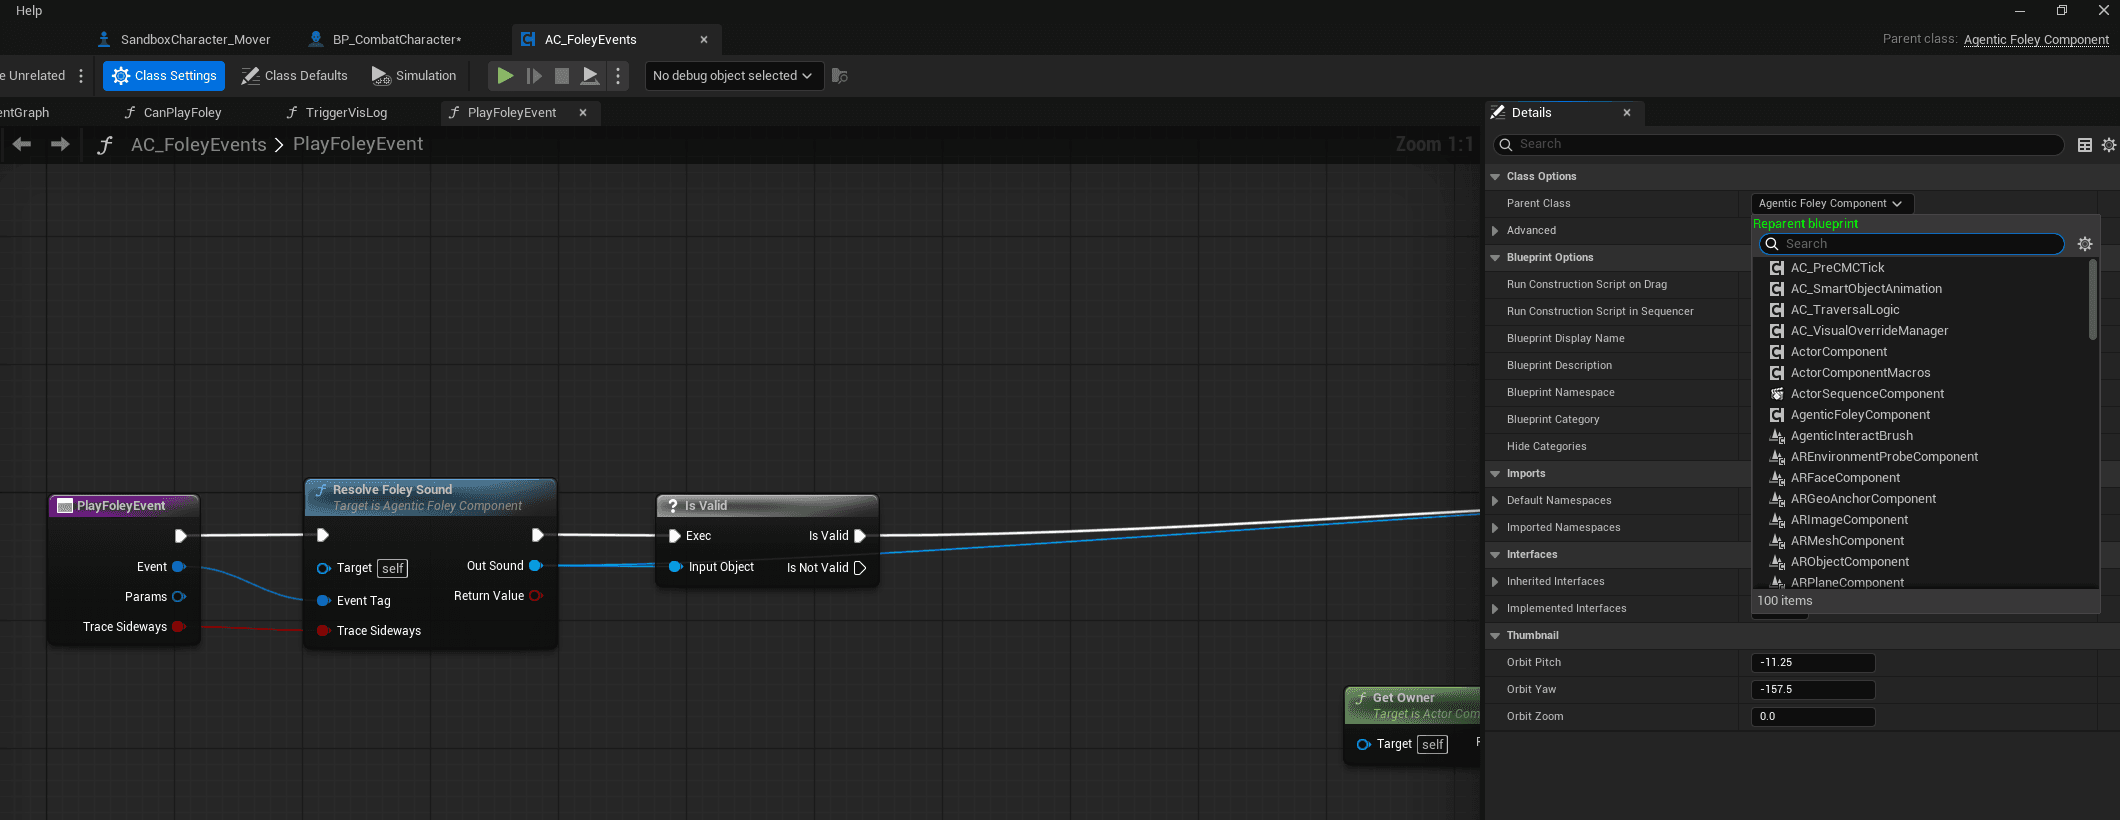
Path B — Reparent AC_FoleyEvents
Open the existing AC_FoleyEvents blueprint, then Class Settings > Parent Class and select AgenticFoleyComponent:
Core Fields
| Property | Value | Notes |
|---|---|---|
FoleyData | DA_FoleyConfig_Simple | Required. Nothing plays without a data asset. |
FootSockets | ["foot_l", "foot_r"] | Biped default. Add more for quadrupeds. |
TraceDistance | 200.0 | Downward trace length in cm. |
FoleyGameplayCueTag | GameplayCue.Agentic.Foley | Must match the shipped GCN blueprint. |
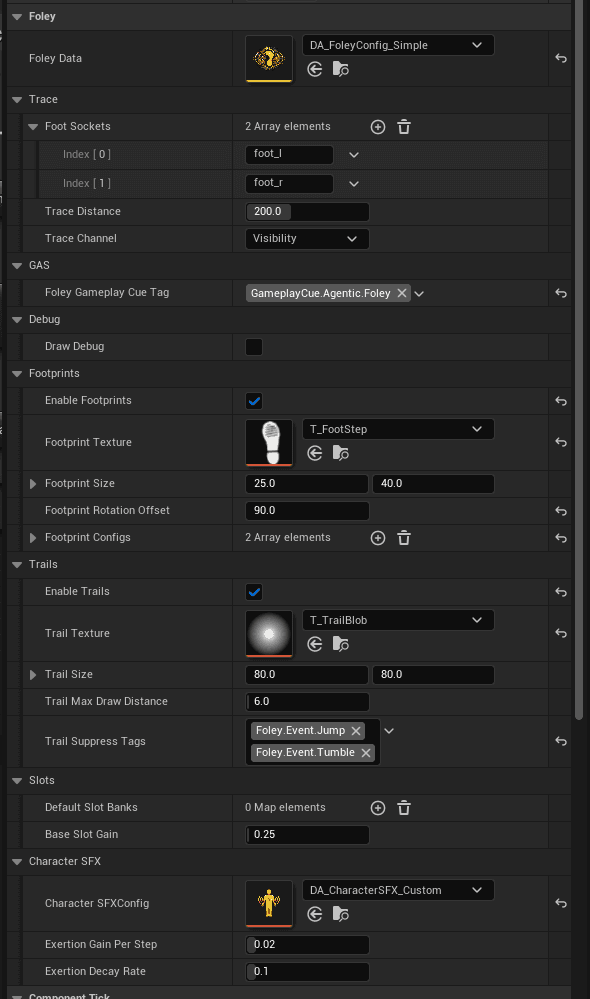
A configured foley component looks like this in the Details panel:
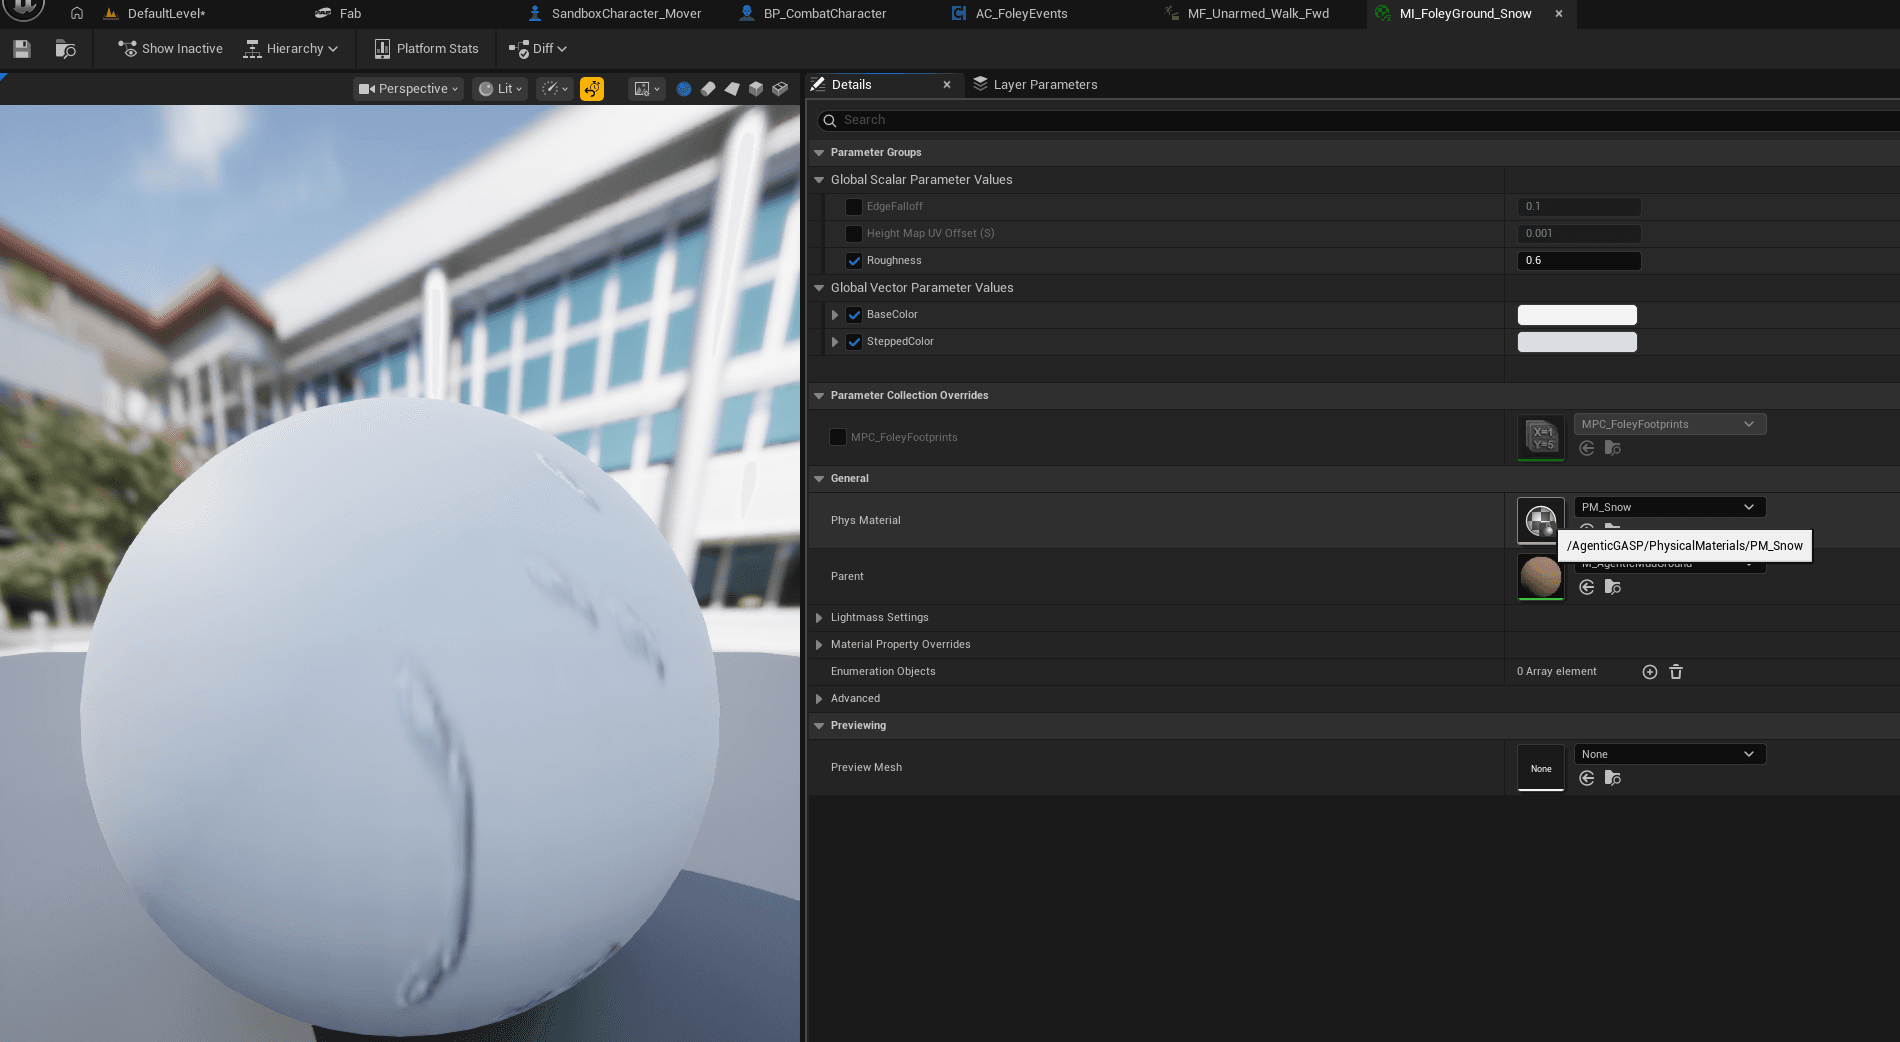
Step 6: Assign Physical Materials to Meshes
Select your ground/floor meshes in the level. In the Details panel, assign one of the shipped PM_* physical materials:
PM_Concrete— default concrete surfacePM_Grass— grass and vegetationPM_Metal— metallic surfacesPM_Wood— wooden floors and platforms
Any mesh without a physical material falls back to the Default row in your Foley DataAsset (concrete by default).
Step 7: Test in PIE
- Press Play in Editor
- Walk your character over different surfaces
- You should hear different footstep sounds per surface
- Check the Output Log for
[AgenticFoley]messages if something is silent
What's Next
- Surface Setup — Configure per-surface VFX and audio
- Equipment Layers — Add armor/gear audio layers
- Multiplayer — Set up GAS replication
- Data Assets Reference — Author custom foley configs
Agentic Foley
Surface-aware foley framework for Unreal Engine 5.7 — footsteps, gear layers, breathing, footprints, and GAS-replicated multiplayer audio
Migrate Into Your Project
Step-by-step walkthrough for adding Agentic Foley to an existing UE project — every friction point, every alignment decision.